Everything You Need for Wall Pilates at Home
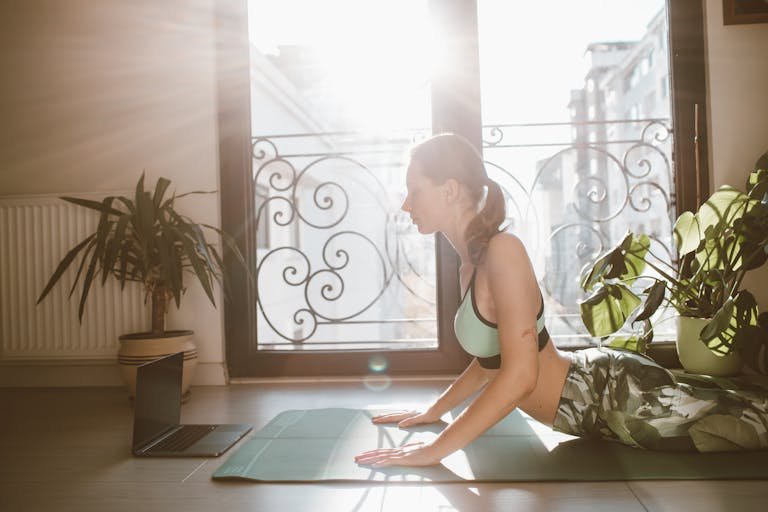
I tried my first wall pilates workout in pajamas at 9pm because I saw a 10-minute video on Instagram and thought, “that looks easy enough.”
It was not easy. My legs were shaking by minute four. But I finished it, and I didn’t have to set up a single piece of equipment. I just walked to the wall.
That’s the thing about wall pilates that hooked me. The wall is already there. You don’t buy it, assemble it, or store it. You just show up.
Wall pilates equipment is minimal by design. The wall provides the support, resistance, and alignment feedback that a mat alone can’t offer. A few small props make the practice better, but you can start with literally nothing except socks and a flat surface.
Here’s the complete gear list, from essential to optional, with honest takes on what’s worth buying and what isn’t.
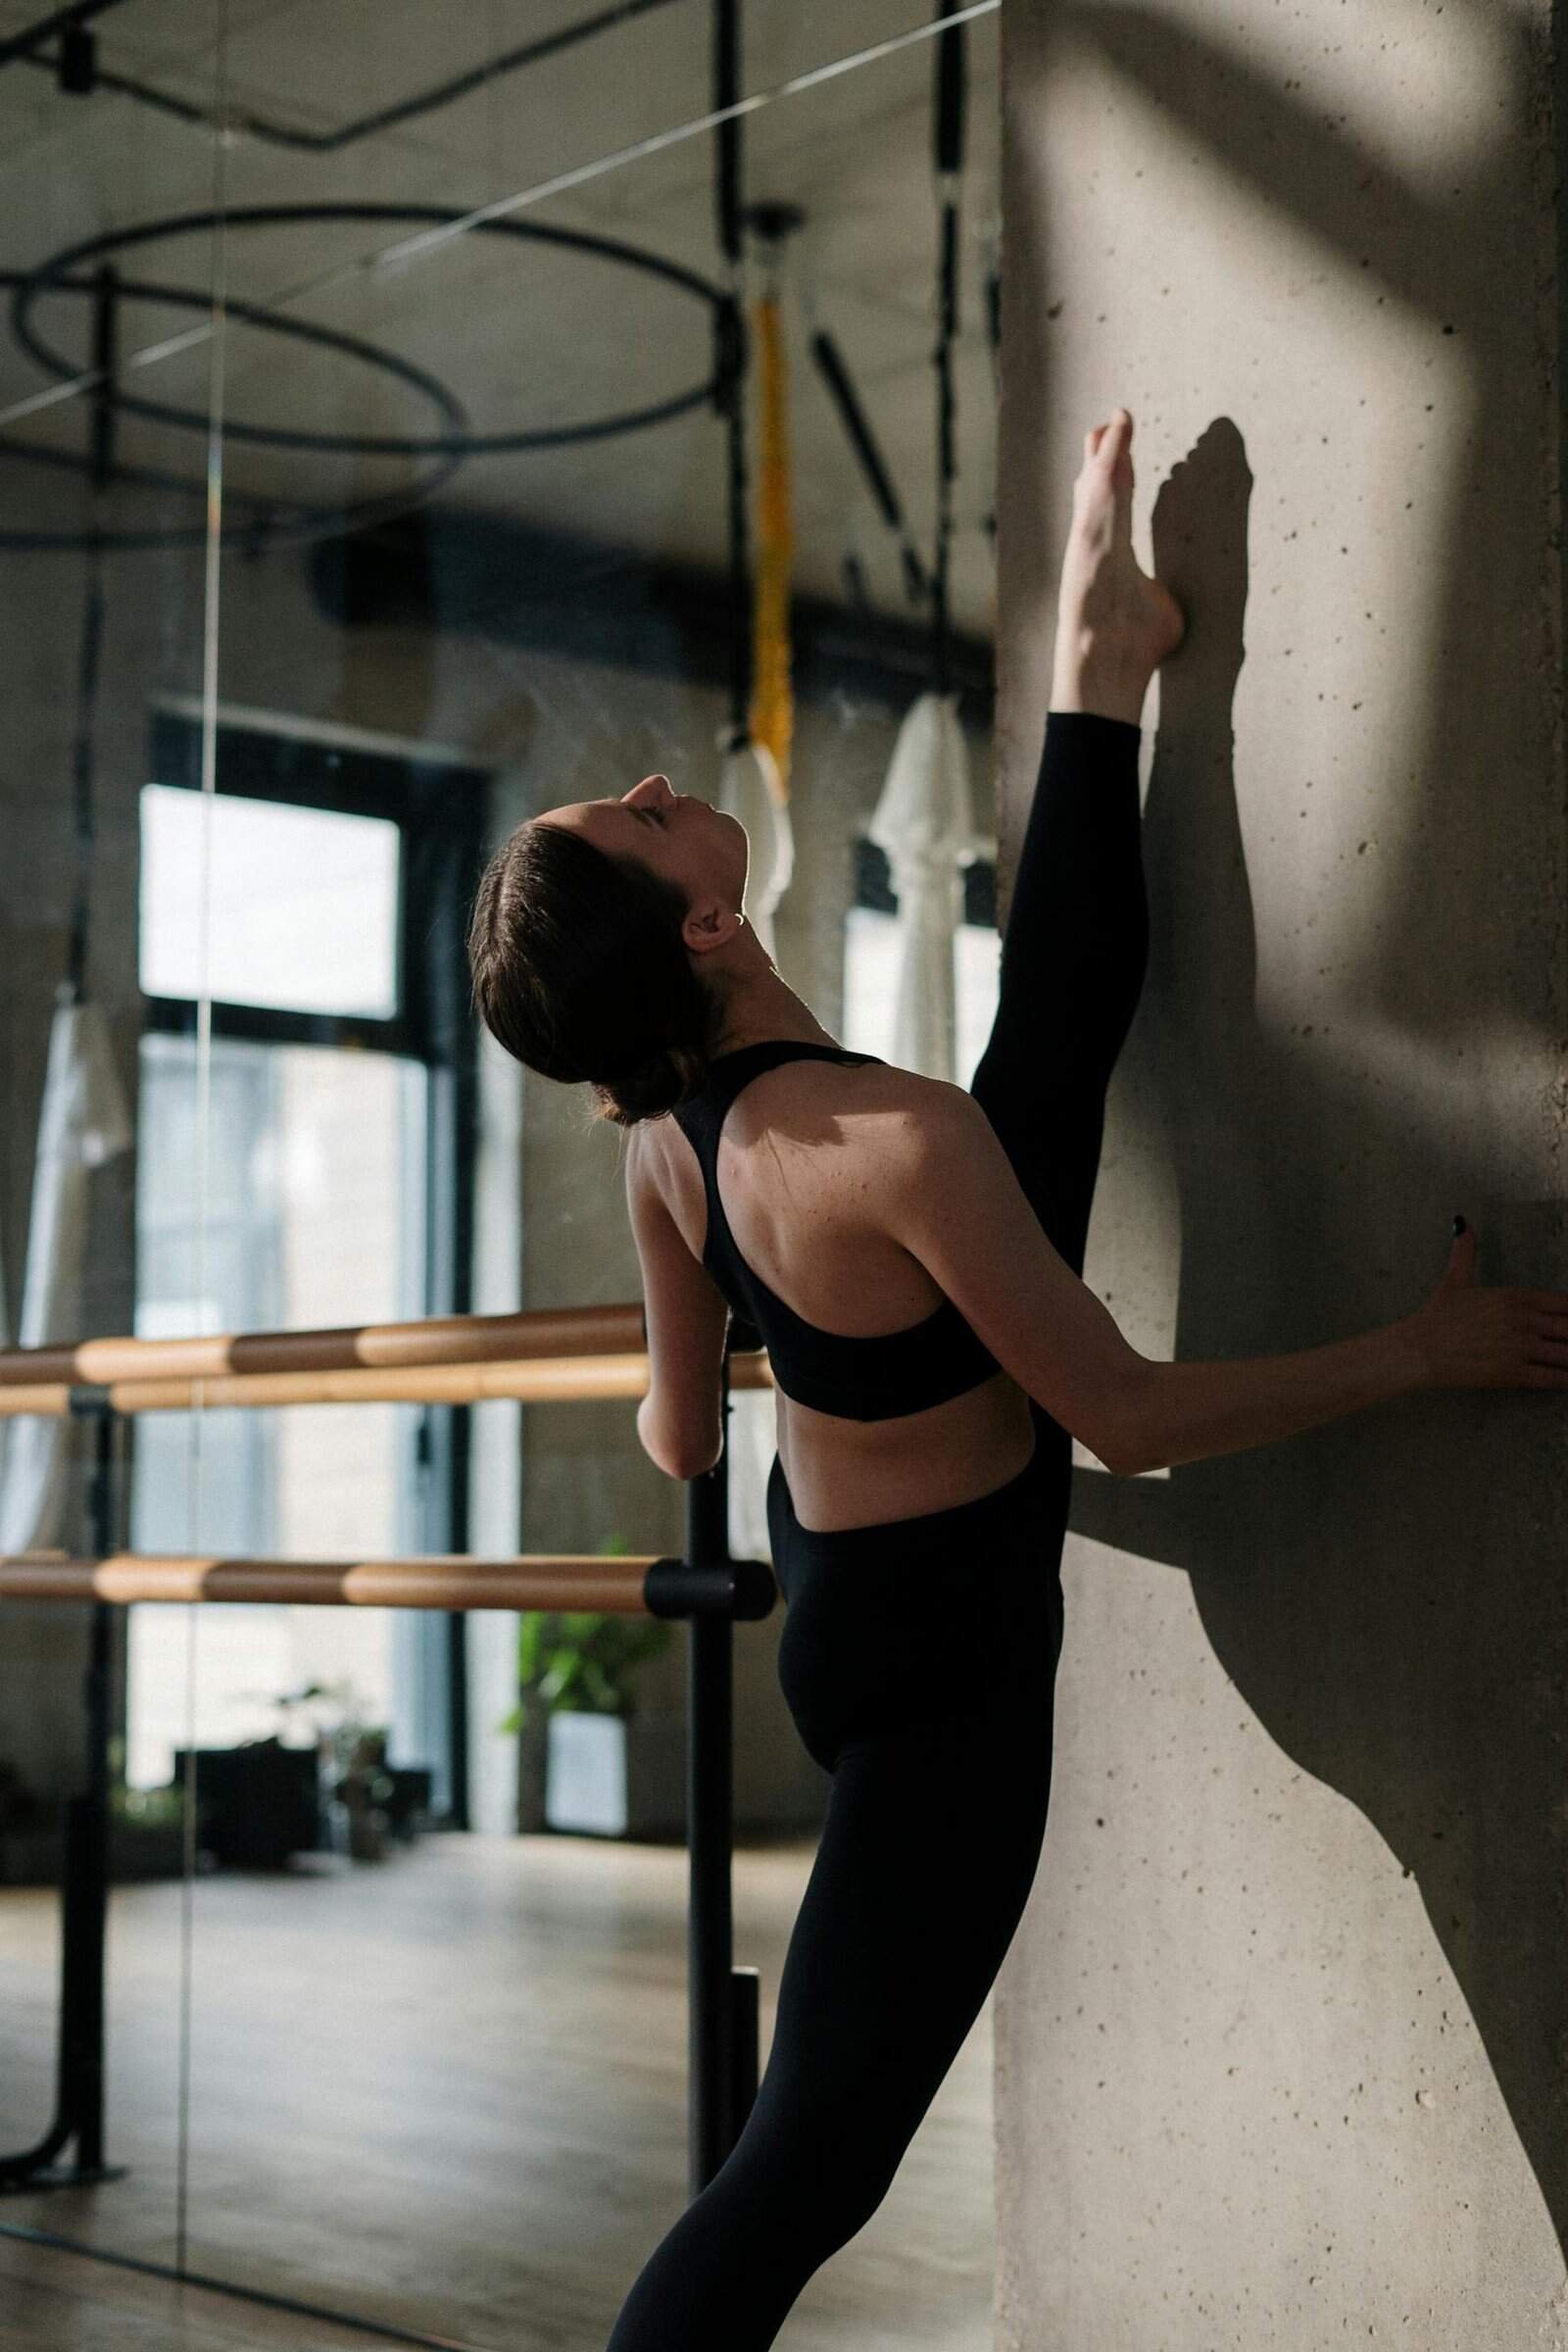
What Is Wall Pilates?
Wall pilates uses a wall as a prop for traditional pilates exercises. Instead of lying flat on a mat, you press your feet, back, or hands against the wall to create resistance, improve alignment, and activate muscles that mat work sometimes misses.
It’s especially effective for:
- Glute activation (wall sits, wall bridges)
- Core engagement (wall roll-downs, wall planks)
- Leg work (wall squats, single-leg presses)
- Alignment (using the wall as a flat reference surface)
The wall adds an element of feedback. When your back is against the wall during a pelvic curl, you can feel exactly where your spine is neutral. That kind of proprioceptive feedback is what makes reformer pilates effective, and the wall provides it for free.
The Equipment List
1. A Thick Yoga or Pilates Mat
Wall pilates involves a lot of floor work with your feet pressed against the wall. You’ll be lying on your back, your side, and your hands and knees. A thin mat isn’t enough.
Get a mat that’s at least 12mm thick. Your spine, hip bones, and knees will thank you. A standard pilates mat (thicker than yoga, slightly shorter) is ideal.
Recommended: Balanced Body pilates mat, Gaiam Essentials thick mat, or any 15mm fitness mat.
2. Pilates Grip Socks
When your feet are against the wall, they need traction. Regular socks slide. Bare feet can feel uncomfortable on textured walls.
Grip socks with rubber dots on the bottom (and ideally the top) give you the friction you need for foot presses, wall squats, and single-leg work. They also keep your feet warm during floor exercises.
Recommended: Tavi Noir, ToeSox, or any pilates grip sock with full-bottom coverage.
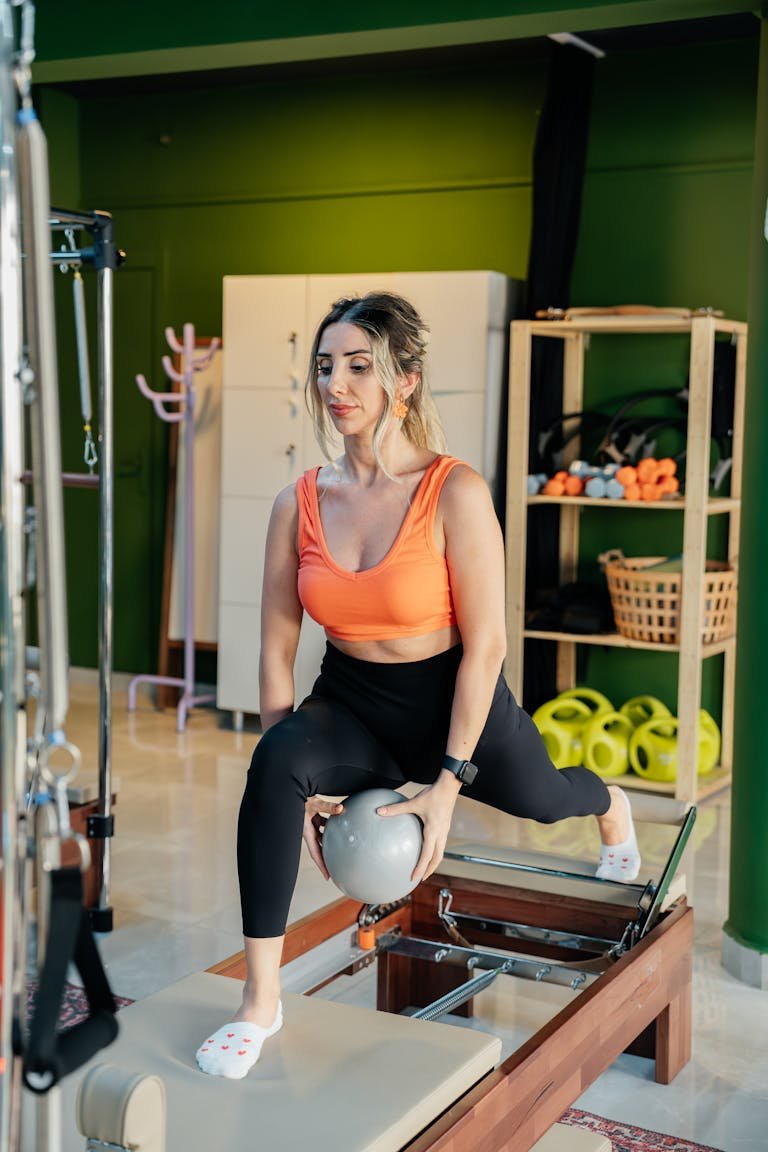
3. A Pilates Ball (9-inch)
A small inflatable pilates ball adds resistance and instability to wall exercises. Place it between your knees during wall bridges for inner thigh activation. Put it behind your lower back during wall squats for spinal support. Hold it between your hands during arm series for chest engagement.
It deflates for storage and costs under $10.
Recommended: ProBody Pilates ball or OPTP mini stability ball.
4. Light Resistance Bands
Loop bands around your thighs during wall squats, bridges, and lateral work add resistance that the wall alone can’t provide. A light and medium band cover most wall pilates exercises.
Fabric bands stay in place better than latex for wall work, since you’re pressing against surfaces that can cause latex to snap or roll.
Recommended: GYMB fabric bands or Peach Bands.
5. A Foam Roller
A foam roller against the wall creates an unstable rolling surface for advanced exercises. Wall roll-outs, standing balance work, and thoracic spine mobilization all use the roller against the wall.
After your workout, it doubles as a recovery tool.
Recommended: 36-inch high-density foam roller (any reputable brand).
6. A Pilates Ring (Optional)
The magic circle adds upper body resistance to wall pilates sequences. Arm presses against the wall with the ring between your palms, chest squeezes during wall sits, and inner thigh work while lying on your back with feet on the wall.
It’s not essential for wall pilates specifically, but if you already own one from mat practice, you’ll find ways to use it.
Setting Up Your Wall Pilates Space
The space requirements are simple:
Wall: A clear, smooth wall surface from floor to about shoulder height. No frames, shelves, outlets, or light switches in the way. Interior walls work best (exterior walls can be cold).
Floor: Enough room to lie down with your feet touching the wall and your arms extended overhead. That’s about 7 feet from wall to head.
Width: About 3 feet is enough for lateral movements.
Total space: Roughly 3 x 7 feet. That fits in a hallway, a bedroom corner, or along any clear wall in your home.
For more on setting up a pilates space, see 8 home pilates setup ideas (no studio required).
The Total Investment
| Item | Cost |
|---|---|
| Thick mat (15mm) | $25-$40 |
| Grip socks | $10-$15 |
| Pilates ball | $8-$12 |
| Fabric resistance bands | $15-$20 |
| Foam roller | $20-$30 |
| Total | $78-$117 |
Under $120 for a complete wall pilates setup. The wall itself is free.
The Wall Has Always Been There
That’s the beauty of wall pilates. The most effective piece of equipment in your setup is something you already have. Every wall in your home is a potential practice space.
Add a mat, a few small props, and a YouTube video or app, and you have a complete pilates practice that requires no machine, no studio, and no commute.
For more on pilates at home:
- 5 Pilates Reformer Alternatives That Actually Fit at Home
- 8 Home Pilates Setup Ideas (No Studio Required)
Download The 5-Minute Home Gym Setup Checklist — your one-page guide to space, equipment, and getting started.
Find a wall. Unroll a mat. Start.