8 Home Pilates Setup Ideas (No Studio Required)
Pilates studios are beautiful. The reformers lined up in rows. The soft lighting. The instructor walking you through every micro-movement while you pretend your core isn’t on fire.
They’re also $30 to $50 per class.
Here’s what nobody at the studio will tell you: a home pilates setup can give you 80% of the studio experience for a fraction of the cost. You don’t need a reformer. You don’t need a dedicated room. You need a mat, a few targeted props, and a corner of your home that’s clear enough to lie down and extend your arms.
That’s it. No studio required.
Whether you’re a pilates beginner or you’ve been doing mat work for years, these 8 setup ideas will help you create a practice space at home that actually works.
1. Start With the Right Mat (Not a Yoga Mat)
This is where most people go wrong. A yoga mat is too thin for pilates. You need a mat that’s at least 15mm thick to cushion your spine during roll-ups, teasers, and anything that puts pressure on your vertebrae.
A dedicated pilates mat is thicker, slightly shorter, and often has more grip. The Balanced Body mat and the Stott Pilates mat are both solid options.
If you’re doing both yoga and pilates at home, you’ll want two mats. They serve different purposes.
Pro Tip: Store your pilates mat rolled (not folded). Folding creates creases that make your spine uncomfortable during supine exercises.
2. Add a Resistance Ring (Magic Circle)
The pilates ring is one of the most versatile and compact props you can own. It adds resistance to inner thigh work, arm exercises, and core movements without taking up any real space.
When you’re not using it, it hangs on a wall hook or stands upright behind your mat. It weighs almost nothing and costs under $20.
If you only add one prop to your home pilates setup beyond the mat, make it this one.
Pro Tip: Choose a ring with padded handles on both sides. The foam padding prevents hand and inner thigh bruising during squeezes.
3. Get a Foam Roller (Dual Purpose)
A foam roller serves double duty in a pilates setup. During practice, it’s a prop for balance challenges, spinal alignment, and deep core activation. After practice, it’s a recovery tool for myofascial release.
A 36-inch full-size roller works for most exercises. If space is tight, an 18-inch half roller fits in a drawer and handles most pilates-specific movements.
Pro Tip: A high-density roller lasts longer and provides more feedback than a soft one. If it feels too firm at first, lay a towel over it.
4. Pilates Grip Socks (Small Upgrade, Big Difference)
If you’re practicing on a hard floor or a mat that slides, grip socks change the game. The rubber dots on the bottom give you traction during standing work and prevent your feet from slipping during footwork exercises.
They also keep your feet warm during floor exercises in cold rooms, which matters more than you’d think.
A three-pack costs under $15 and lasts for months.
Pro Tip: Look for socks with grips on the top of the foot too (not just the bottom). These give you better contact with the ring and strap during prop work.
5. Consider a Pilates Bar Kit
A pilates bar kit (sometimes called a portable pilates bar) is a metal or composite bar with attached resistance bands and foot loops. It simulates some reformer exercises without the machine.
It folds up to the size of a yoga mat, stores in a closet or under a bed, and costs between $25 and $50. For the price, it’s one of the best ways to add reformer-style resistance to a mat practice.
For more on reformer alternatives, check out 5 pilates reformer alternatives that actually fit at home.
Pro Tip: Start with light resistance bands and work up. The movements mimic reformer springs, and going too heavy too fast compromises your form.
6. Resistance Bands for Mat Work
Loop bands and long resistance bands add intensity to mat pilates without adding bulk to your space.
A set of loop bands (light, medium, heavy) handles leg work, hip bridges, and lateral movements. A long flat band adds resistance to arm series and can be used as a strap for hamstring stretches.
Store them in a small basket or hang them on a hook. They take up essentially no space.
Pro Tip: Fabric loop bands stay in place better than latex ones and won’t roll up your thighs during bridges and clamshells.
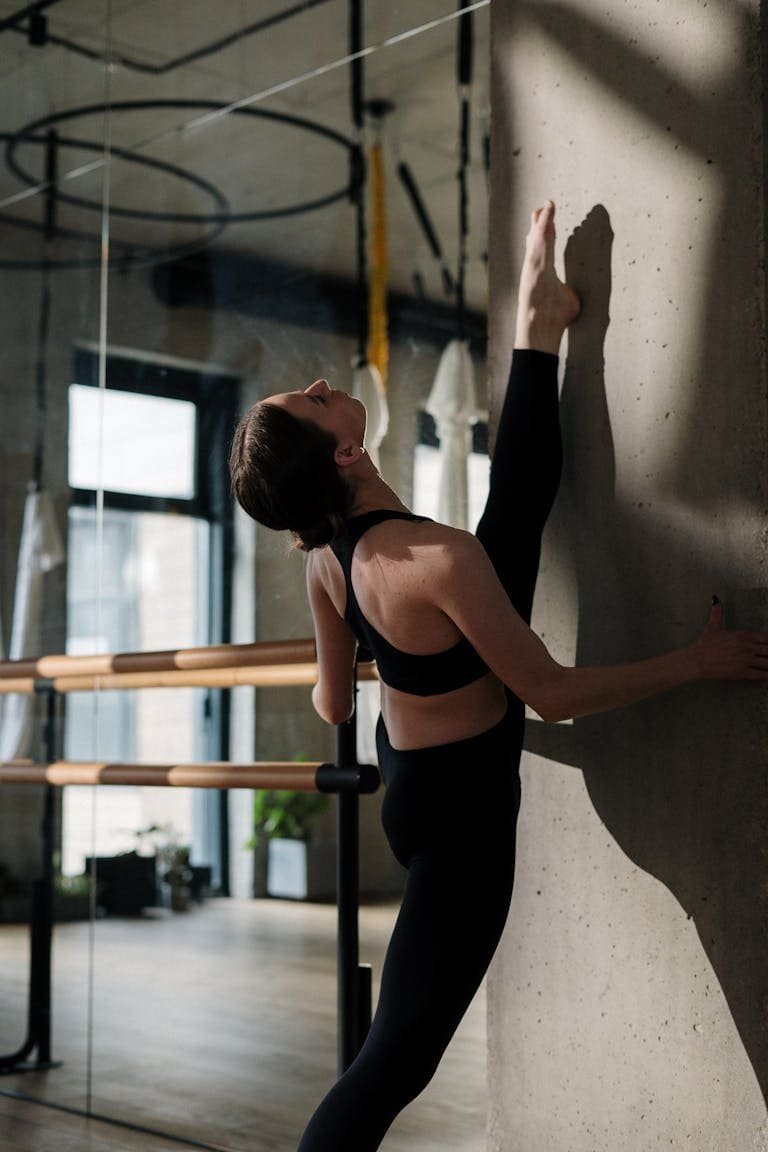
7. Set Up Near a Wall
A blank wall is the most underrated piece of pilates equipment in your home. Wall pilates has exploded in popularity, and for good reason. The wall provides feedback, support, and resistance for dozens of exercises.
When setting up your home pilates space, position your mat within arm’s reach of a clear wall. You’ll use it for wall sits, wall roll-downs, standing leg work, and alignment checks.
For a full breakdown of wall pilates gear, see everything you need for wall pilates at home.
Pro Tip: Make sure the wall is clear of frames, shelves, and outlet covers at mat height. You need smooth, uninterrupted surface from floor to about shoulder height.
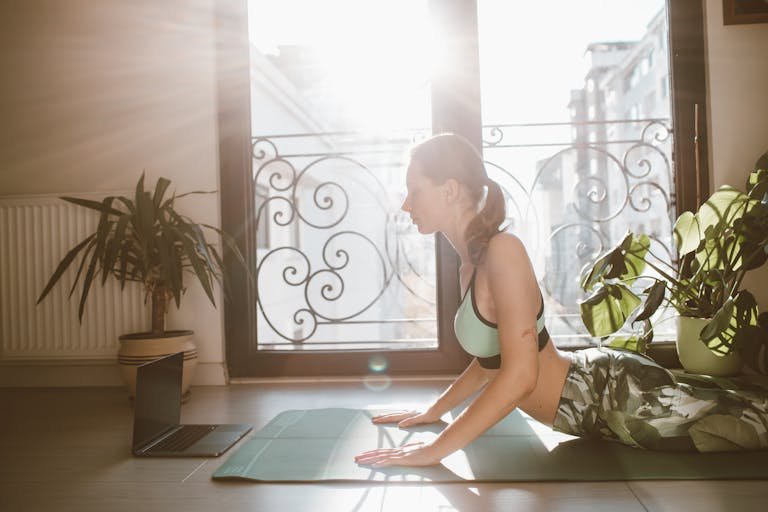
8. Create a Streaming Setup
Most home pilates practitioners follow along with a class (YouTube, an app, or a subscription platform). Your setup should account for this.
A tablet or laptop on a small stand at the front of your mat, positioned at eye level when you’re lying down, gives you the best viewing angle. A bluetooth speaker nearby lets you hear cues clearly without blasting volume.
If you want to go further, a wall-mounted tablet holder keeps the screen visible from any position (standing, seated, or supine) without taking up floor space.
Pro Tip: Position the screen slightly to one side rather than directly behind your feet. You’ll see it better during side-lying work and seated exercises.
Your Studio Is Already in Your House
A home pilates setup doesn’t need to look like a reformer studio. It needs to feel intentional, functional, and ready when you are.
A thick mat. A ring. A foam roller. Grip socks. A clear wall. A screen for classes.
That’s a complete pilates practice space, and it fits in a corner.
For more on building home workout spaces:
- How to Design a Home Yoga Room That Feels Like a Retreat
- 5 Pilates Reformer Alternatives That Actually Fit at Home
And for the quick-start version:
Download The 5-Minute Home Gym Setup Checklist — a one-page guide to choosing your space, picking your essentials, and creating a setup you’ll actually use.
Your practice doesn’t need a studio. It just needs a spot.