A Beginner’s Guide to Cold Plunge Tubs (for Home Use)
Cold plunging went from niche biohacker practice to mainstream wellness trend in about two years. If you’re thinking about adding a cold plunge to your home gym or recovery routine, you probably have questions. How cold? How long? What tub? Is it worth the money?
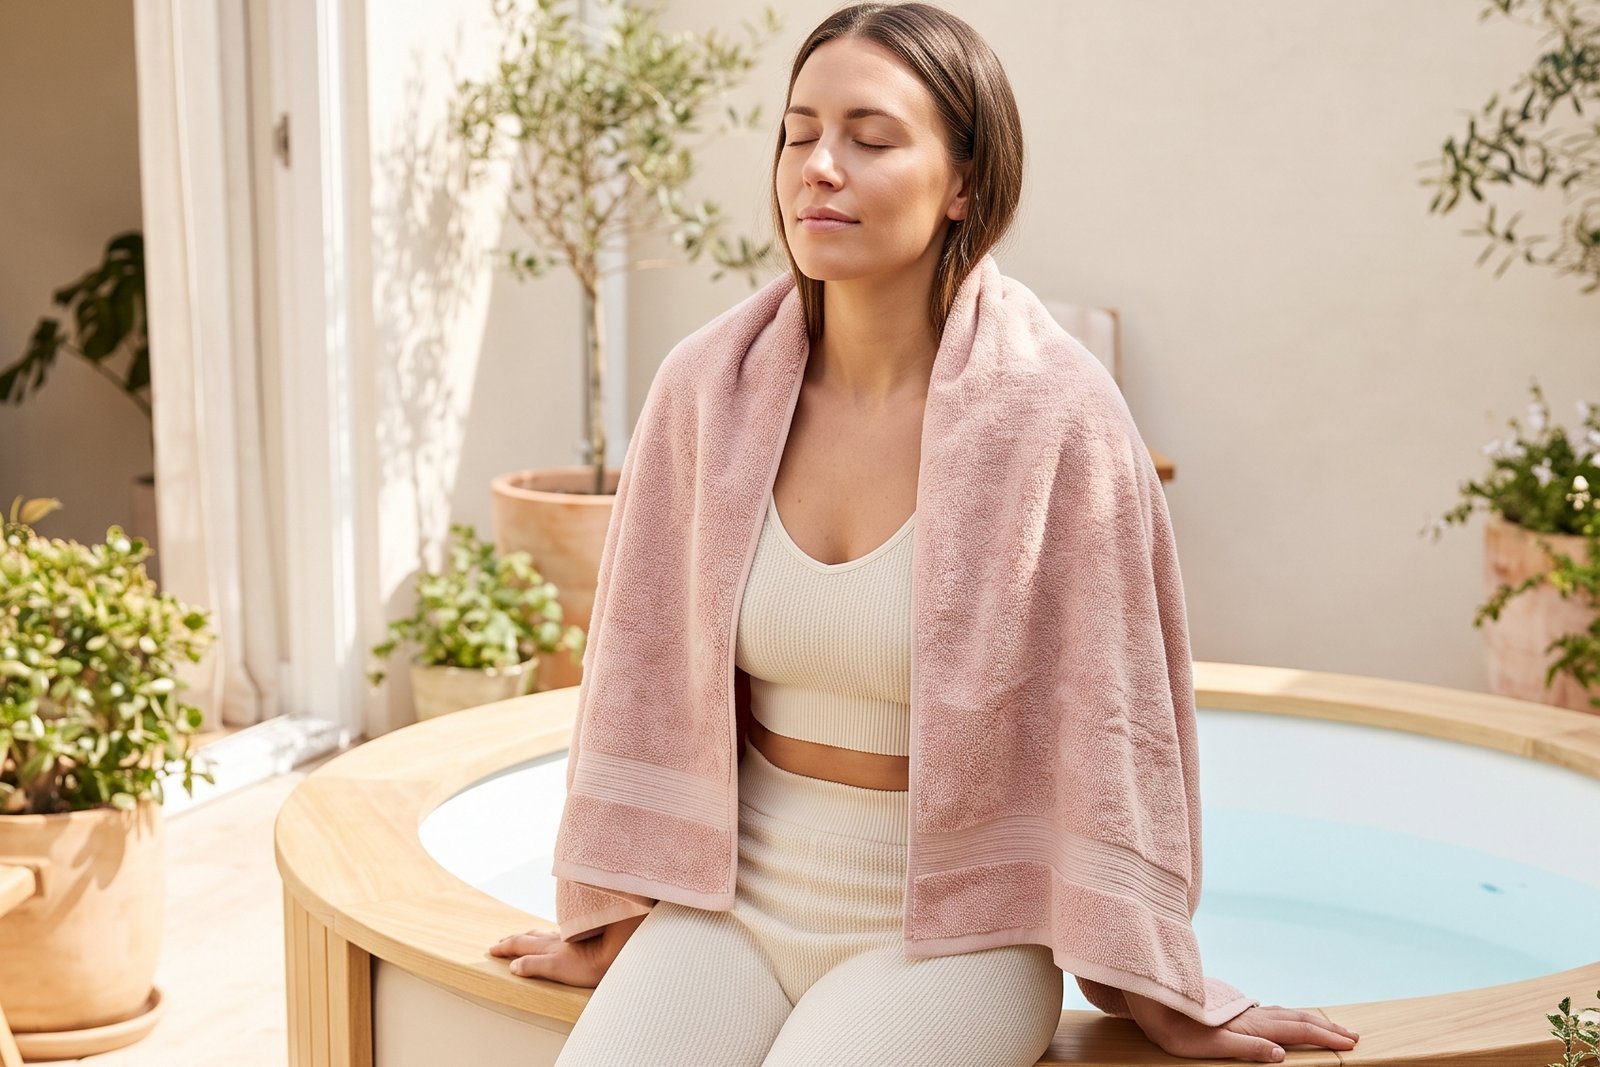
A cold plunge tub is any container that holds you in cold water (typically 39 to 59 degrees Fahrenheit) for a short period of time, usually 2 to 10 minutes. The goal is to trigger a cold shock response that constricts blood vessels, reduces inflammation, and activates your sympathetic nervous system.
What Does Cold Plunging Actually Do?
- Reduced muscle inflammation after exercise (the most well-supported benefit)
- Improved mood and alertness (cold triggers norepinephrine release)
- Enhanced circulation (blood vessels constrict then dilate when you warm up)
- Mental resilience (voluntarily doing something uncomfortable builds tolerance)
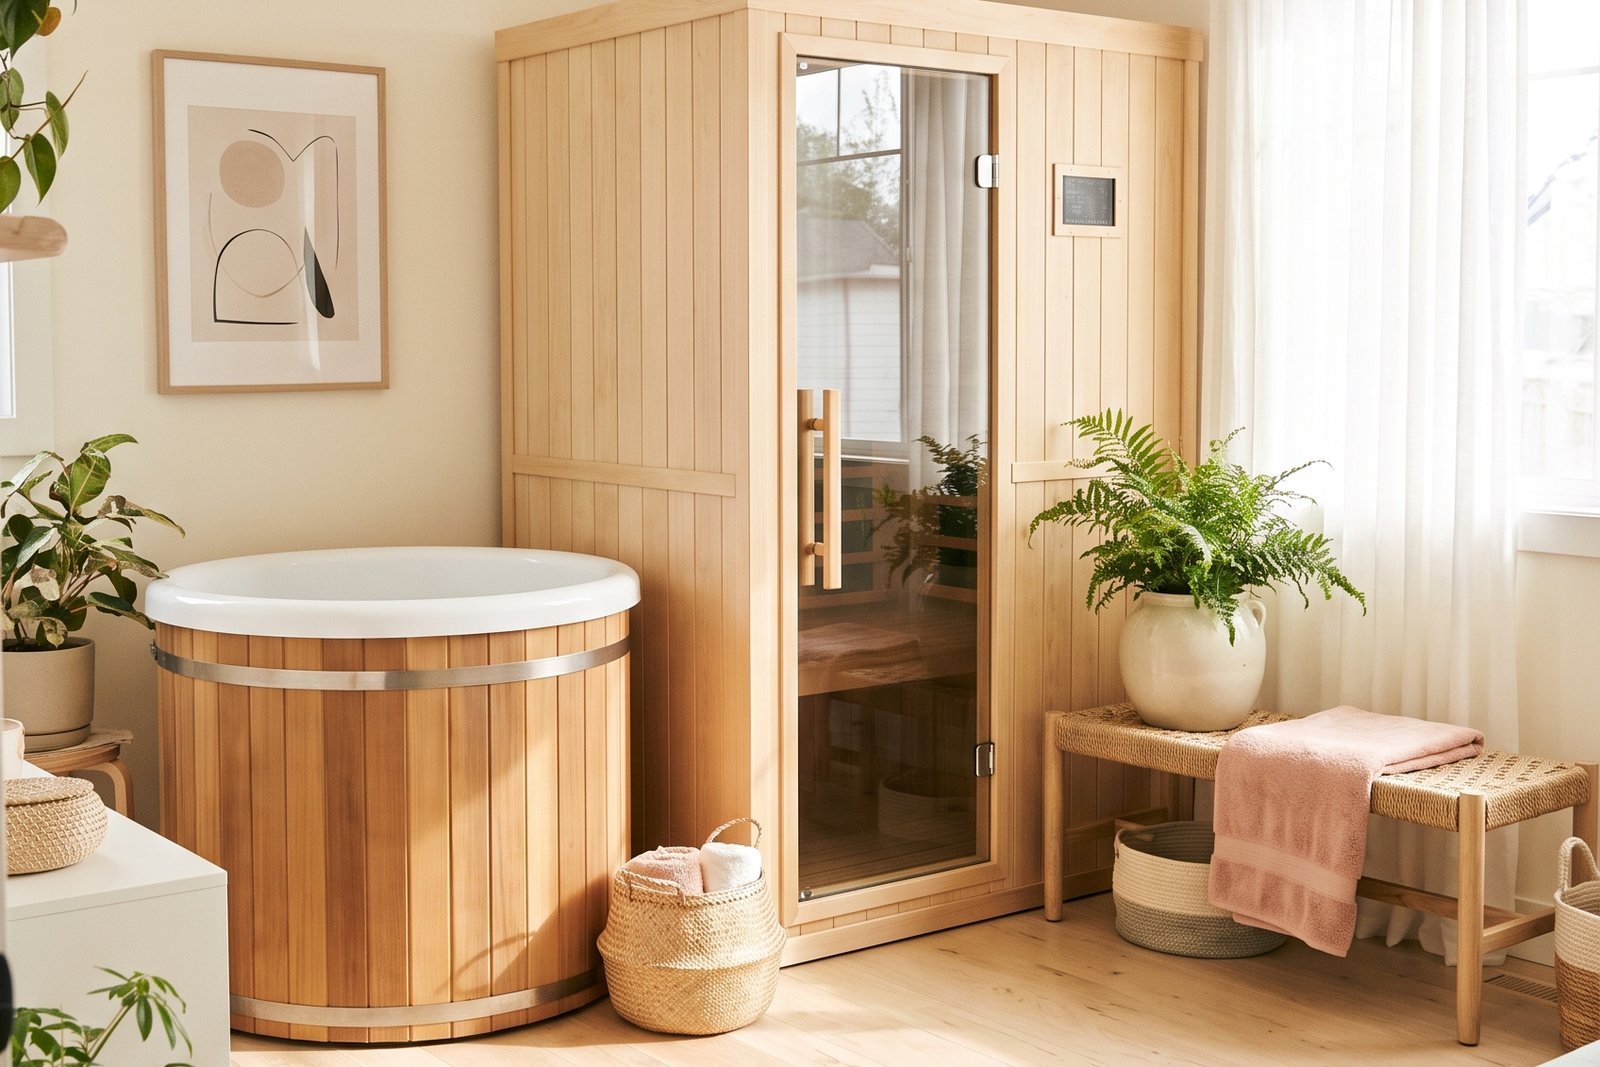
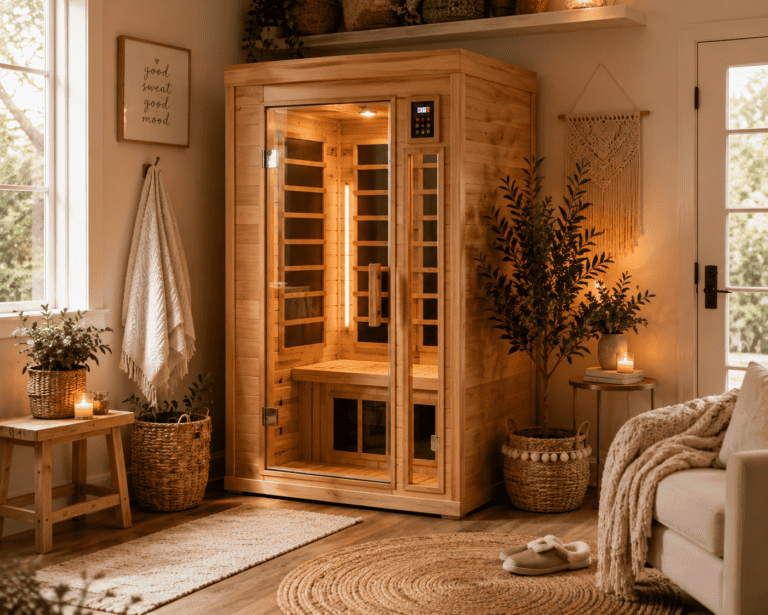
Paired with a home sauna, you get hot-cold contrast therapy that high-end spas charge $100+ per session for.
1. DIY: Stock Tank or Large Cooler ($50-$200)
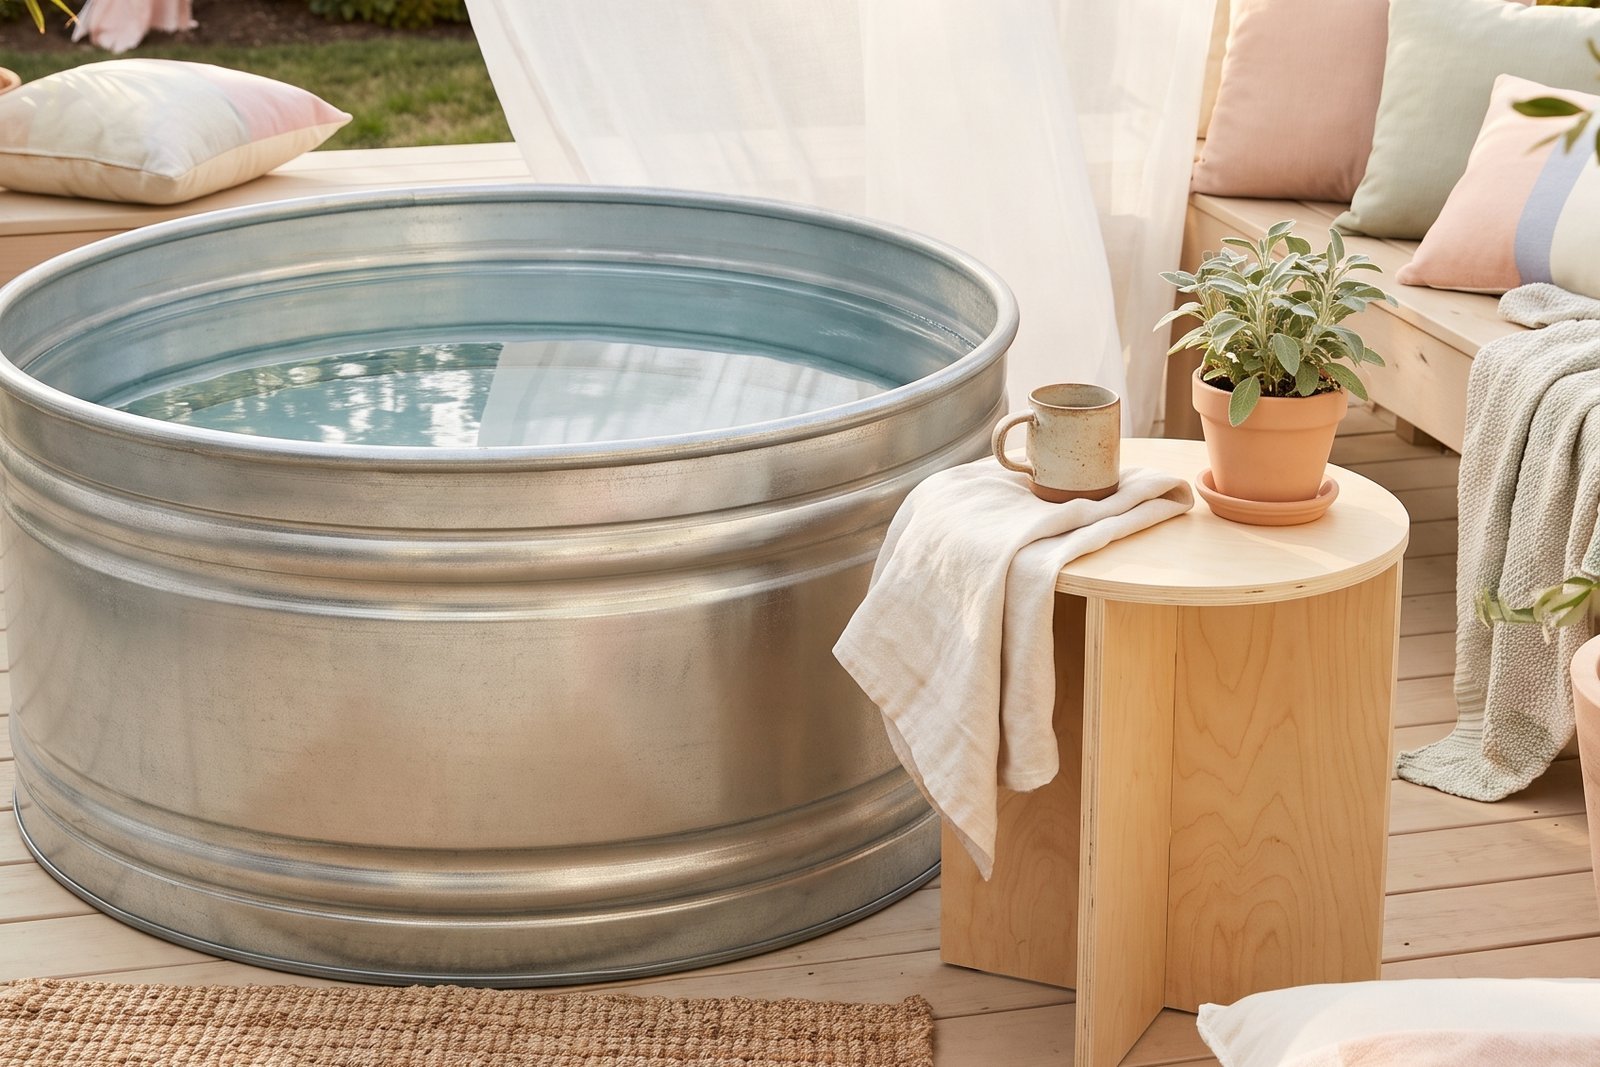
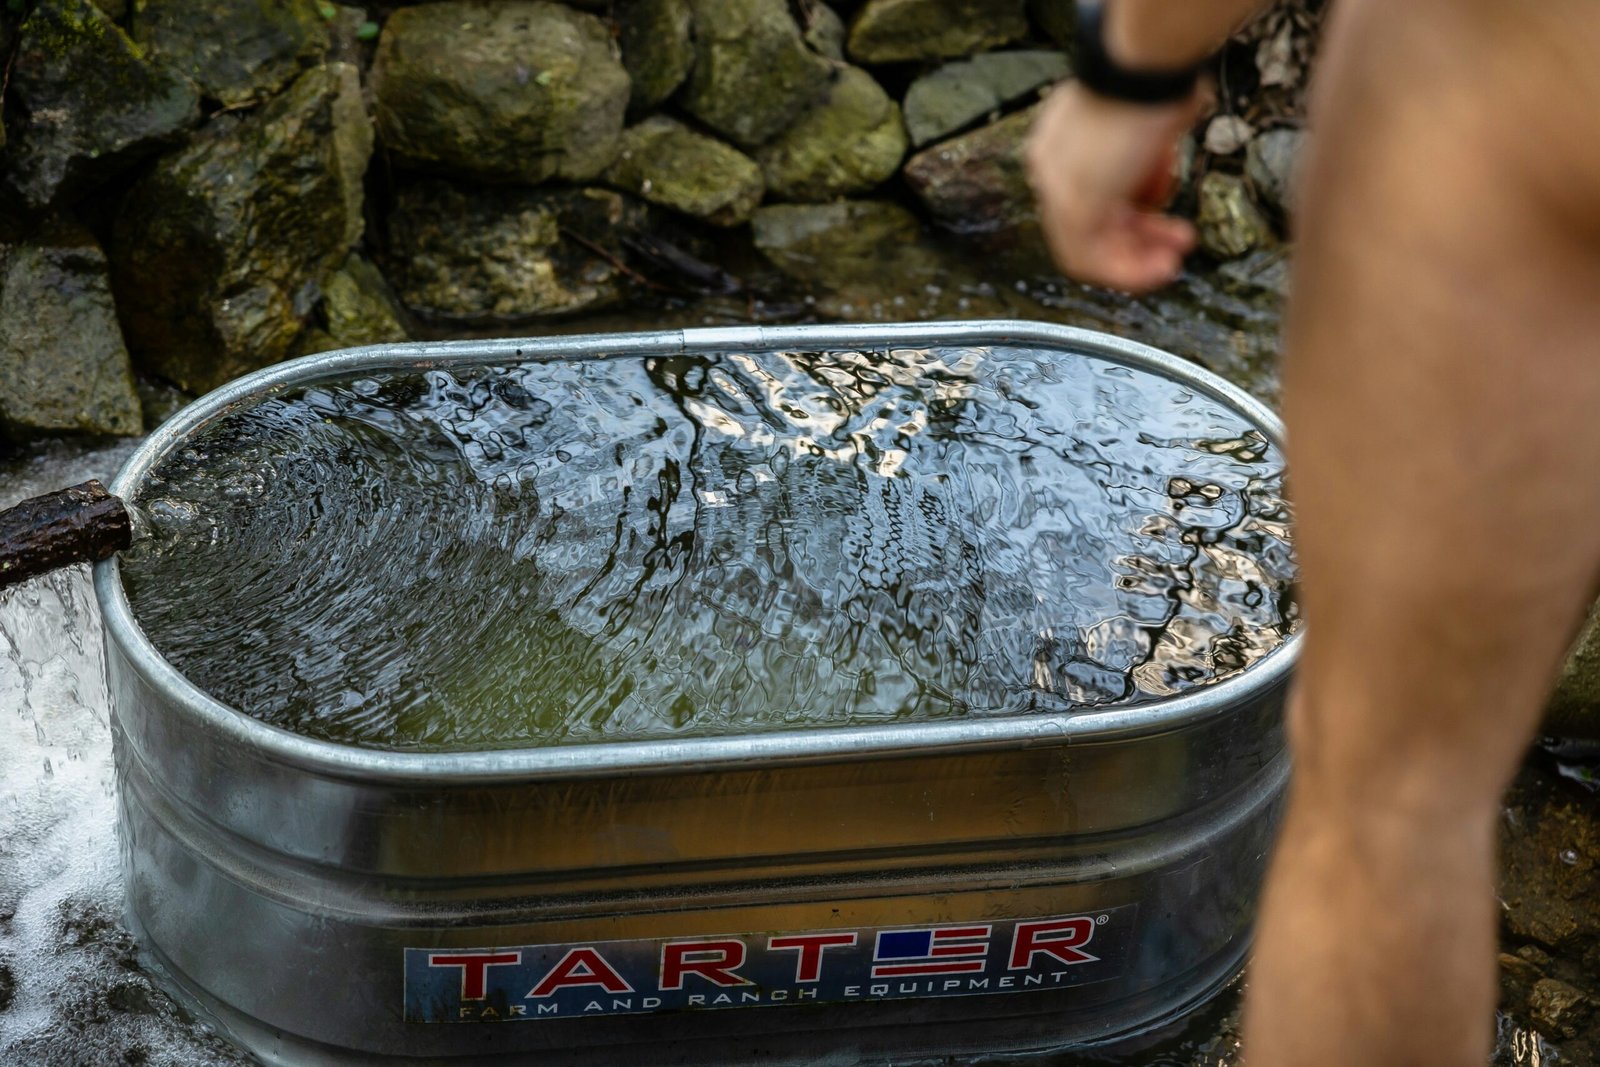
The budget entry point. A galvanized stock tank from a feed store holds enough water for a seated cold plunge. Add ice, check the temperature with a thermometer, and get in. It’s not pretty. It works exactly as well as a $5,000 dedicated tub.
2. Portable Cold Plunge Tub ($100-$300)
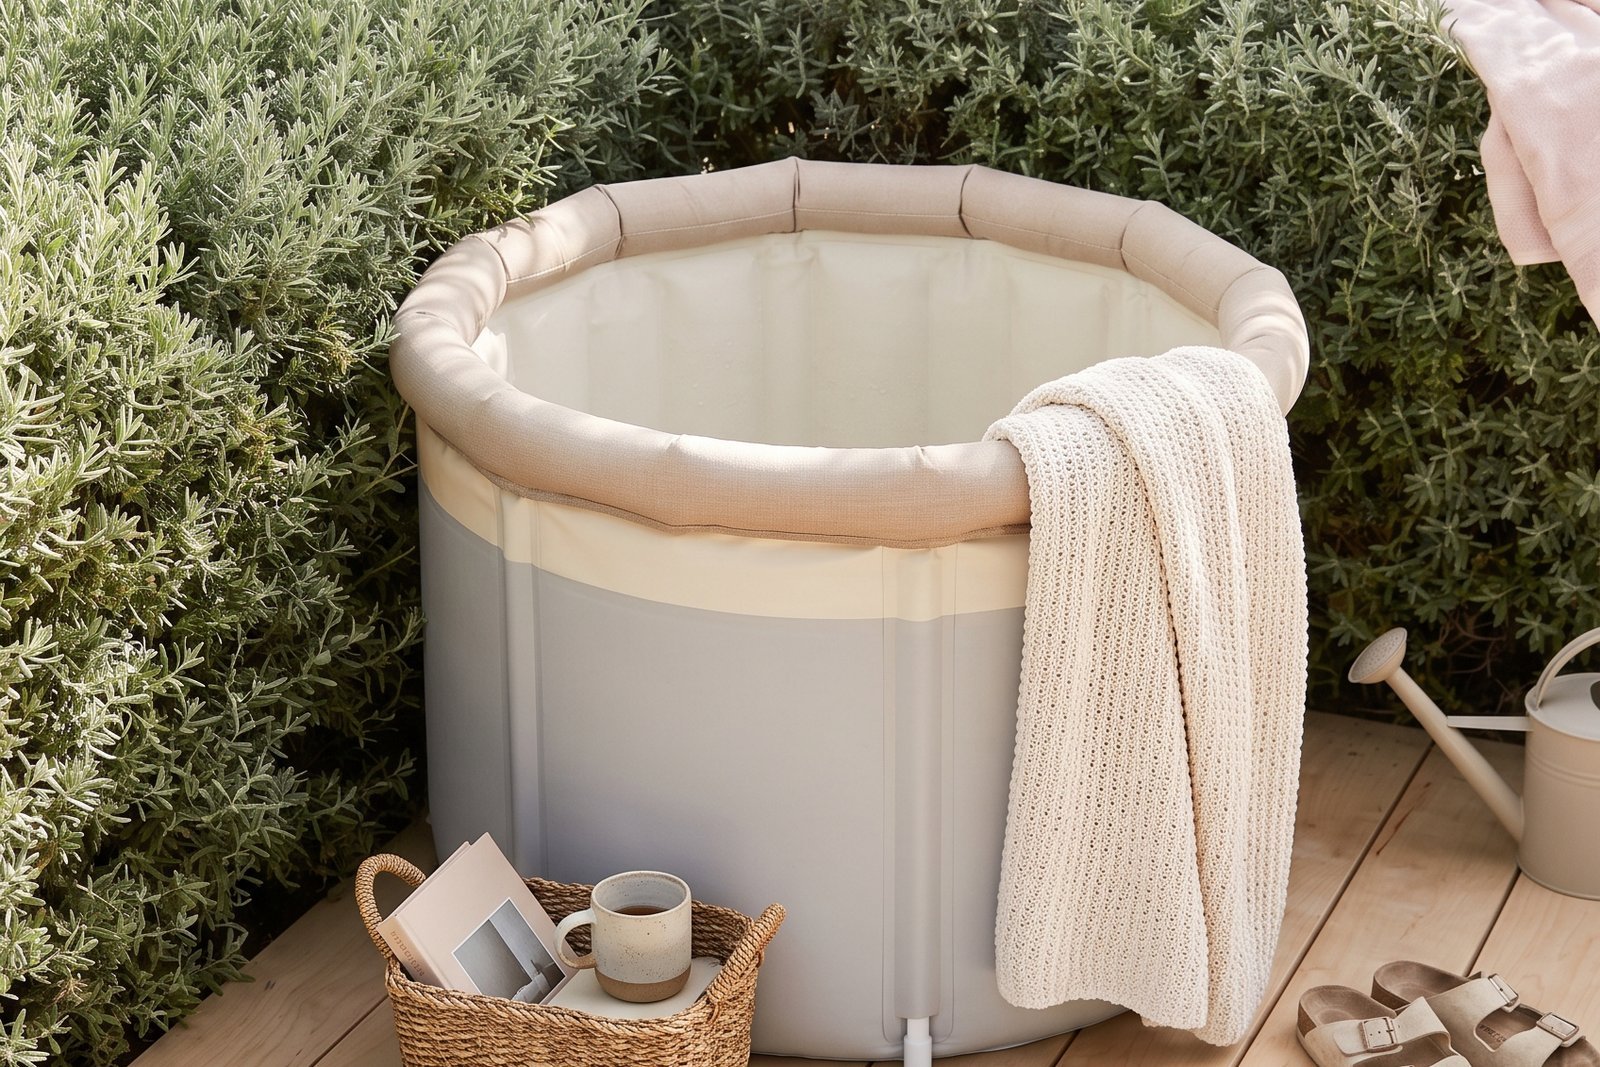
Purpose-built for cold plunging. The right depth for seated immersion, insulated to hold cold longer, and designed to drain easily. Most are inflatable or foldable.
3. Ice Barrel ($1,200)
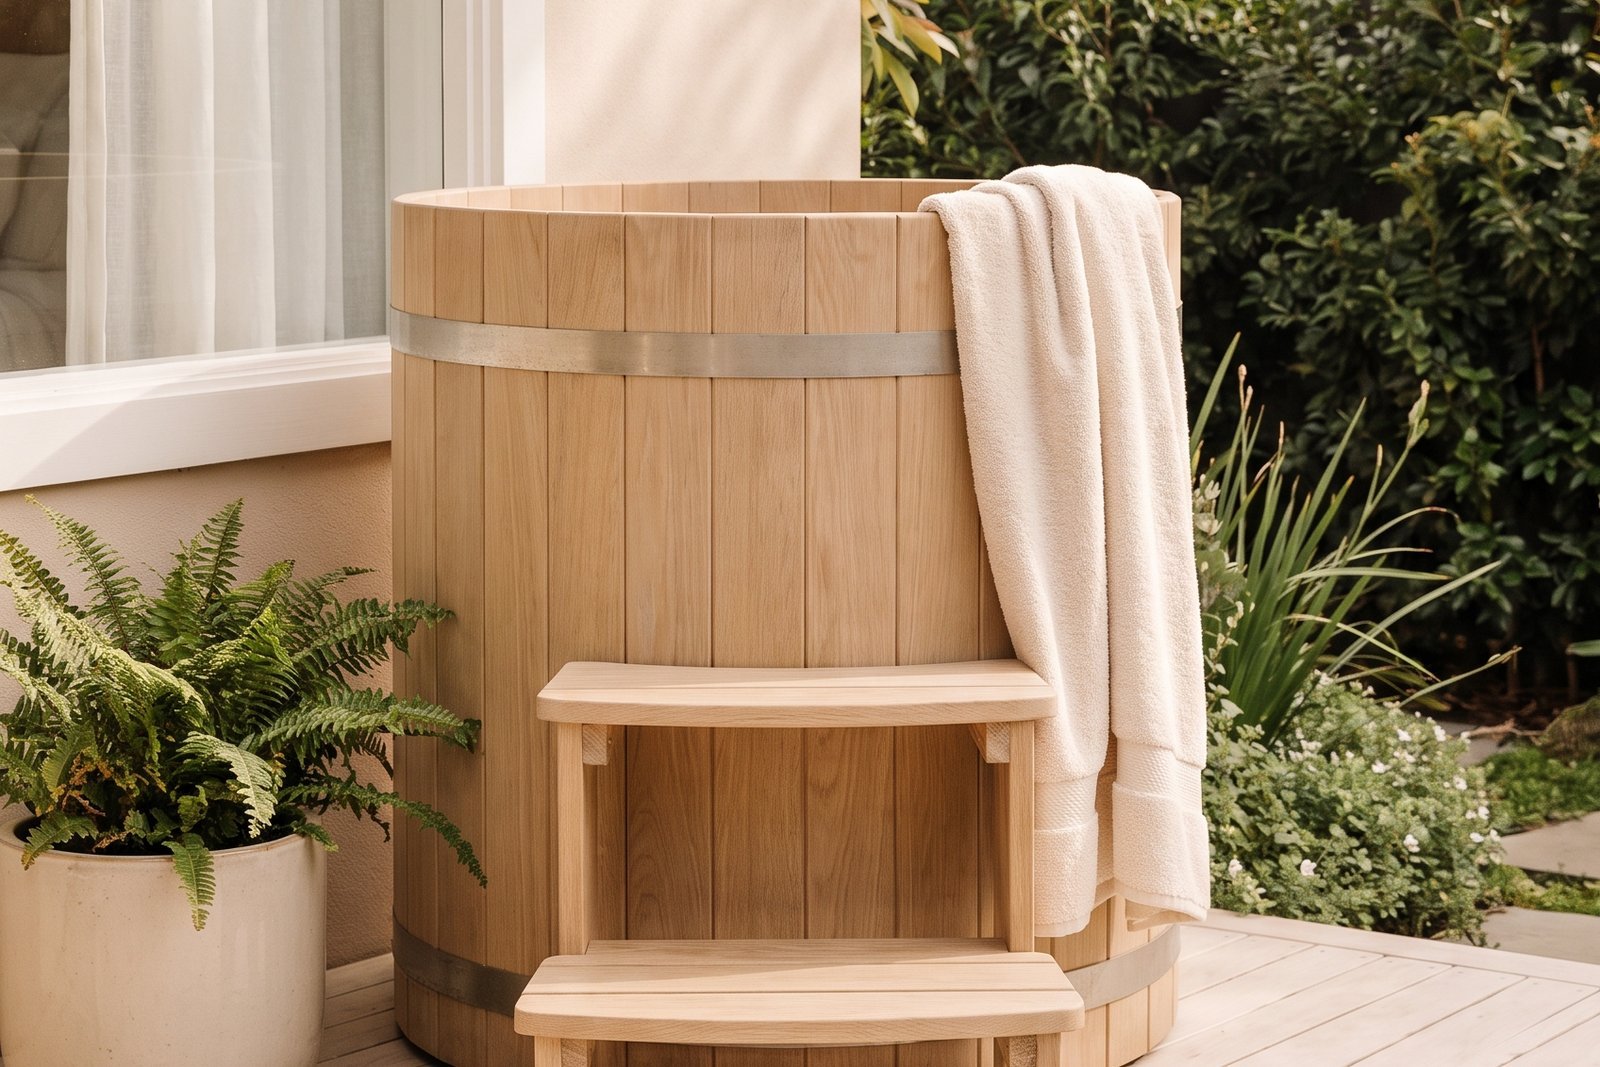
The most recognizable cold plunge product. An upright barrel where you stand/sit submerged to your shoulders. The vertical design means a much smaller footprint than a horizontal tub.
4. Cold Plunge Tub With Built-In Chiller ($3,000-$7,000)
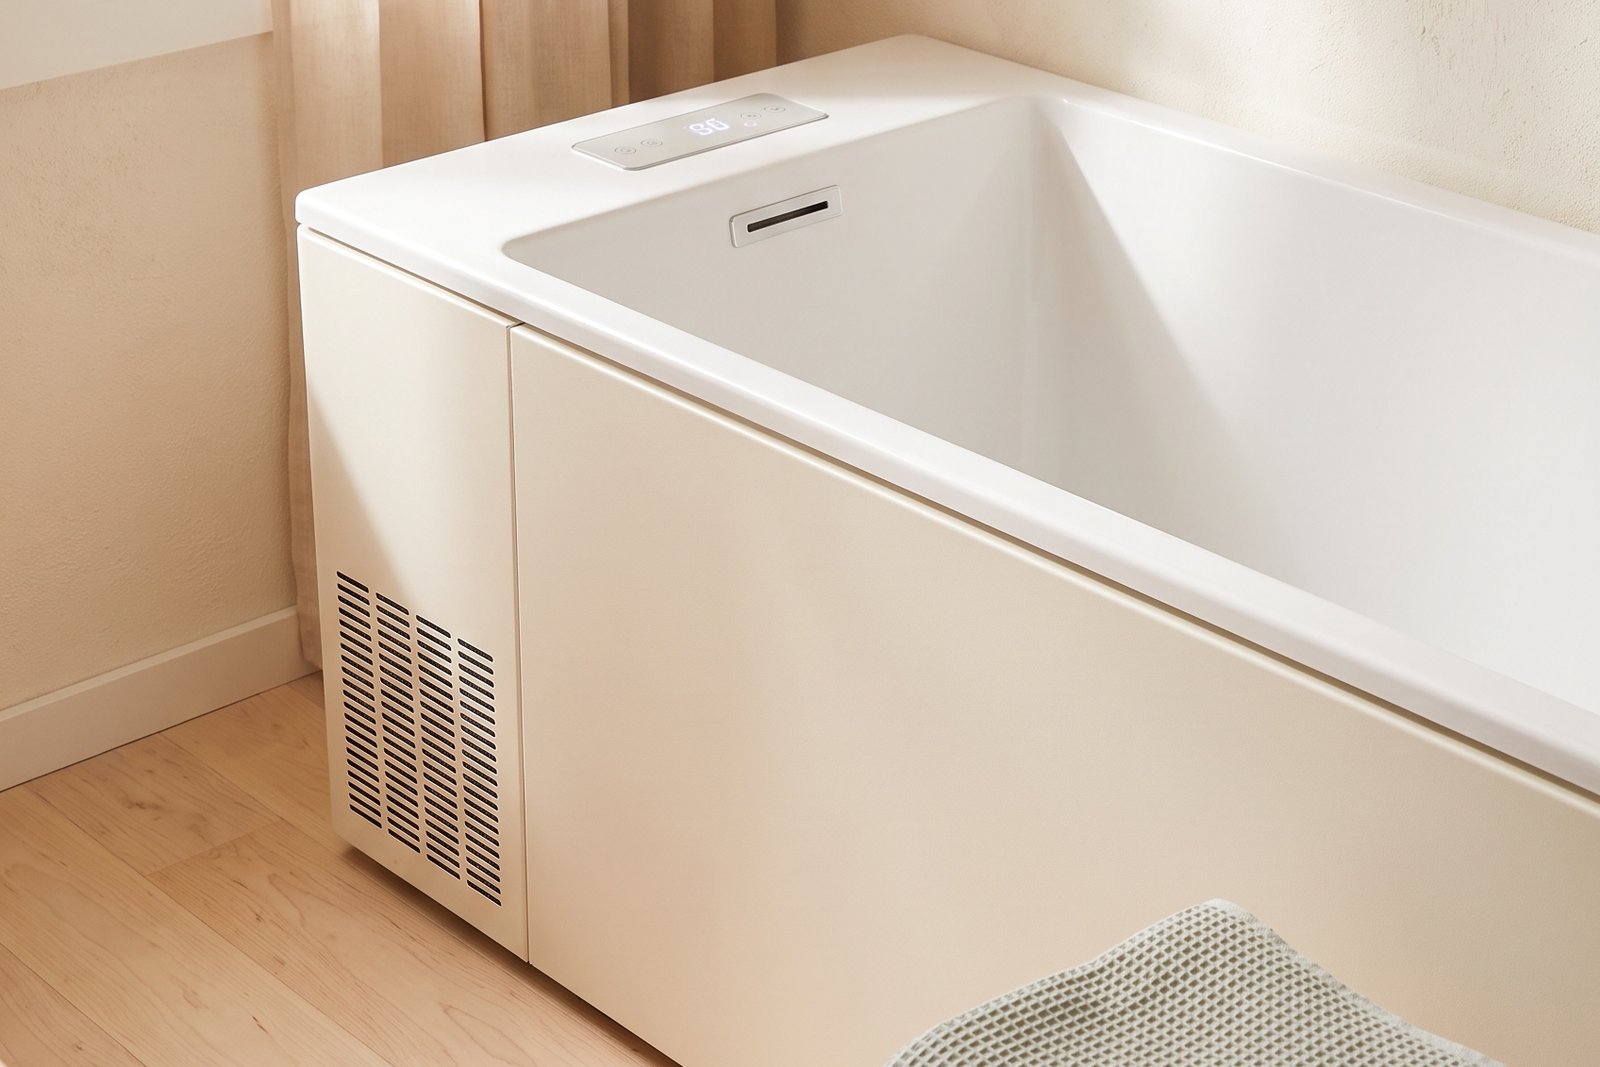
The premium tier. Built-in refrigeration maintains constant temperature without ice. You set the temperature, the chiller holds it there. No ice runs. No thermometer checking. Fill it once and it stays cold and clean.
How to Start Cold Plunging
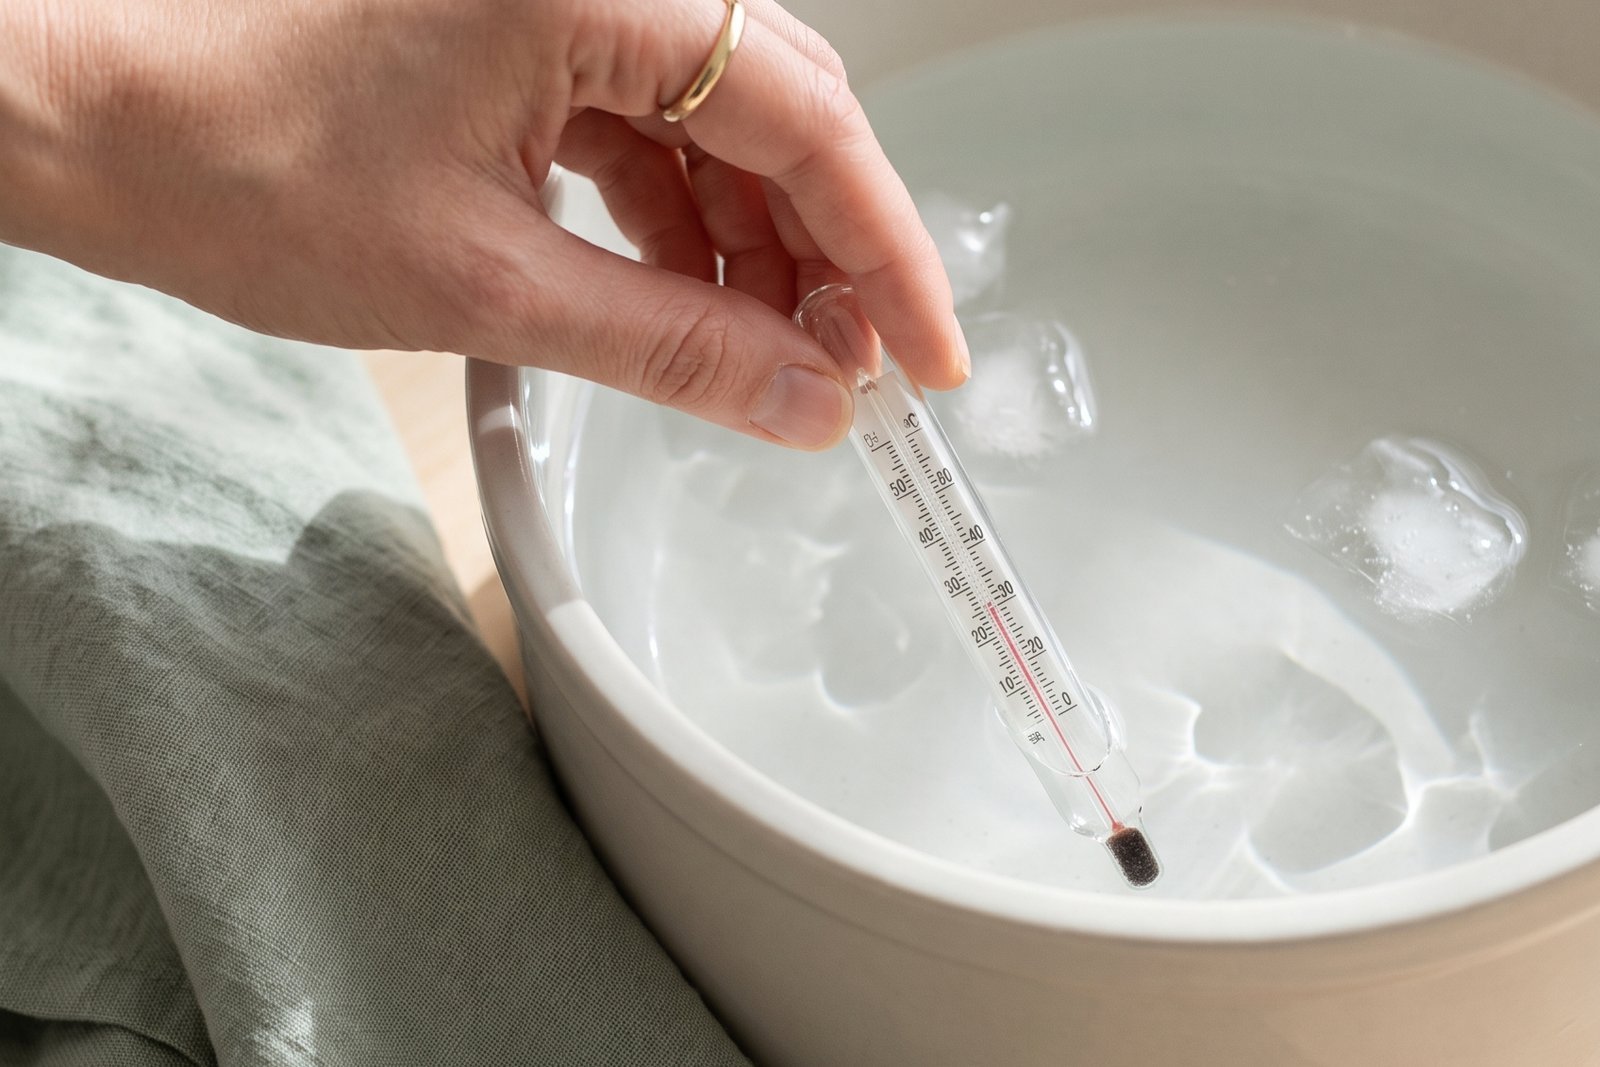
Week 1-2: Cold shower at the end of your regular shower. 30 seconds.
Week 3-4: Cold shower for 1-2 minutes. Focus on breathing slowly.
Week 5+: First plunge in cold water (55-60 degrees). Stay for 2 minutes. Work up to 5-10 minutes over the following weeks.
The first 30 seconds are the hardest. If you can breathe through those, the rest is surprisingly manageable.
Is It Worth It?
If you’re not sure, start with a stock tank and a bag of ice ($50 total). Try it ten times. If you’re hooked, upgrade. If you’re not, you spent $50 instead of $5,000.
The women who stick with cold plunging all say the same thing: the hardest part isn’t the cold. It’s getting in. Once you’re in, you know exactly why you do it.
- Best Home Saunas for Small Spaces (Are They Worth It?)
- 7 Outdoor Home Gym Ideas for Backyard Workouts
Download The 5-Minute Home Gym Setup Checklist — your one-page guide to building a complete home gym, including recovery.
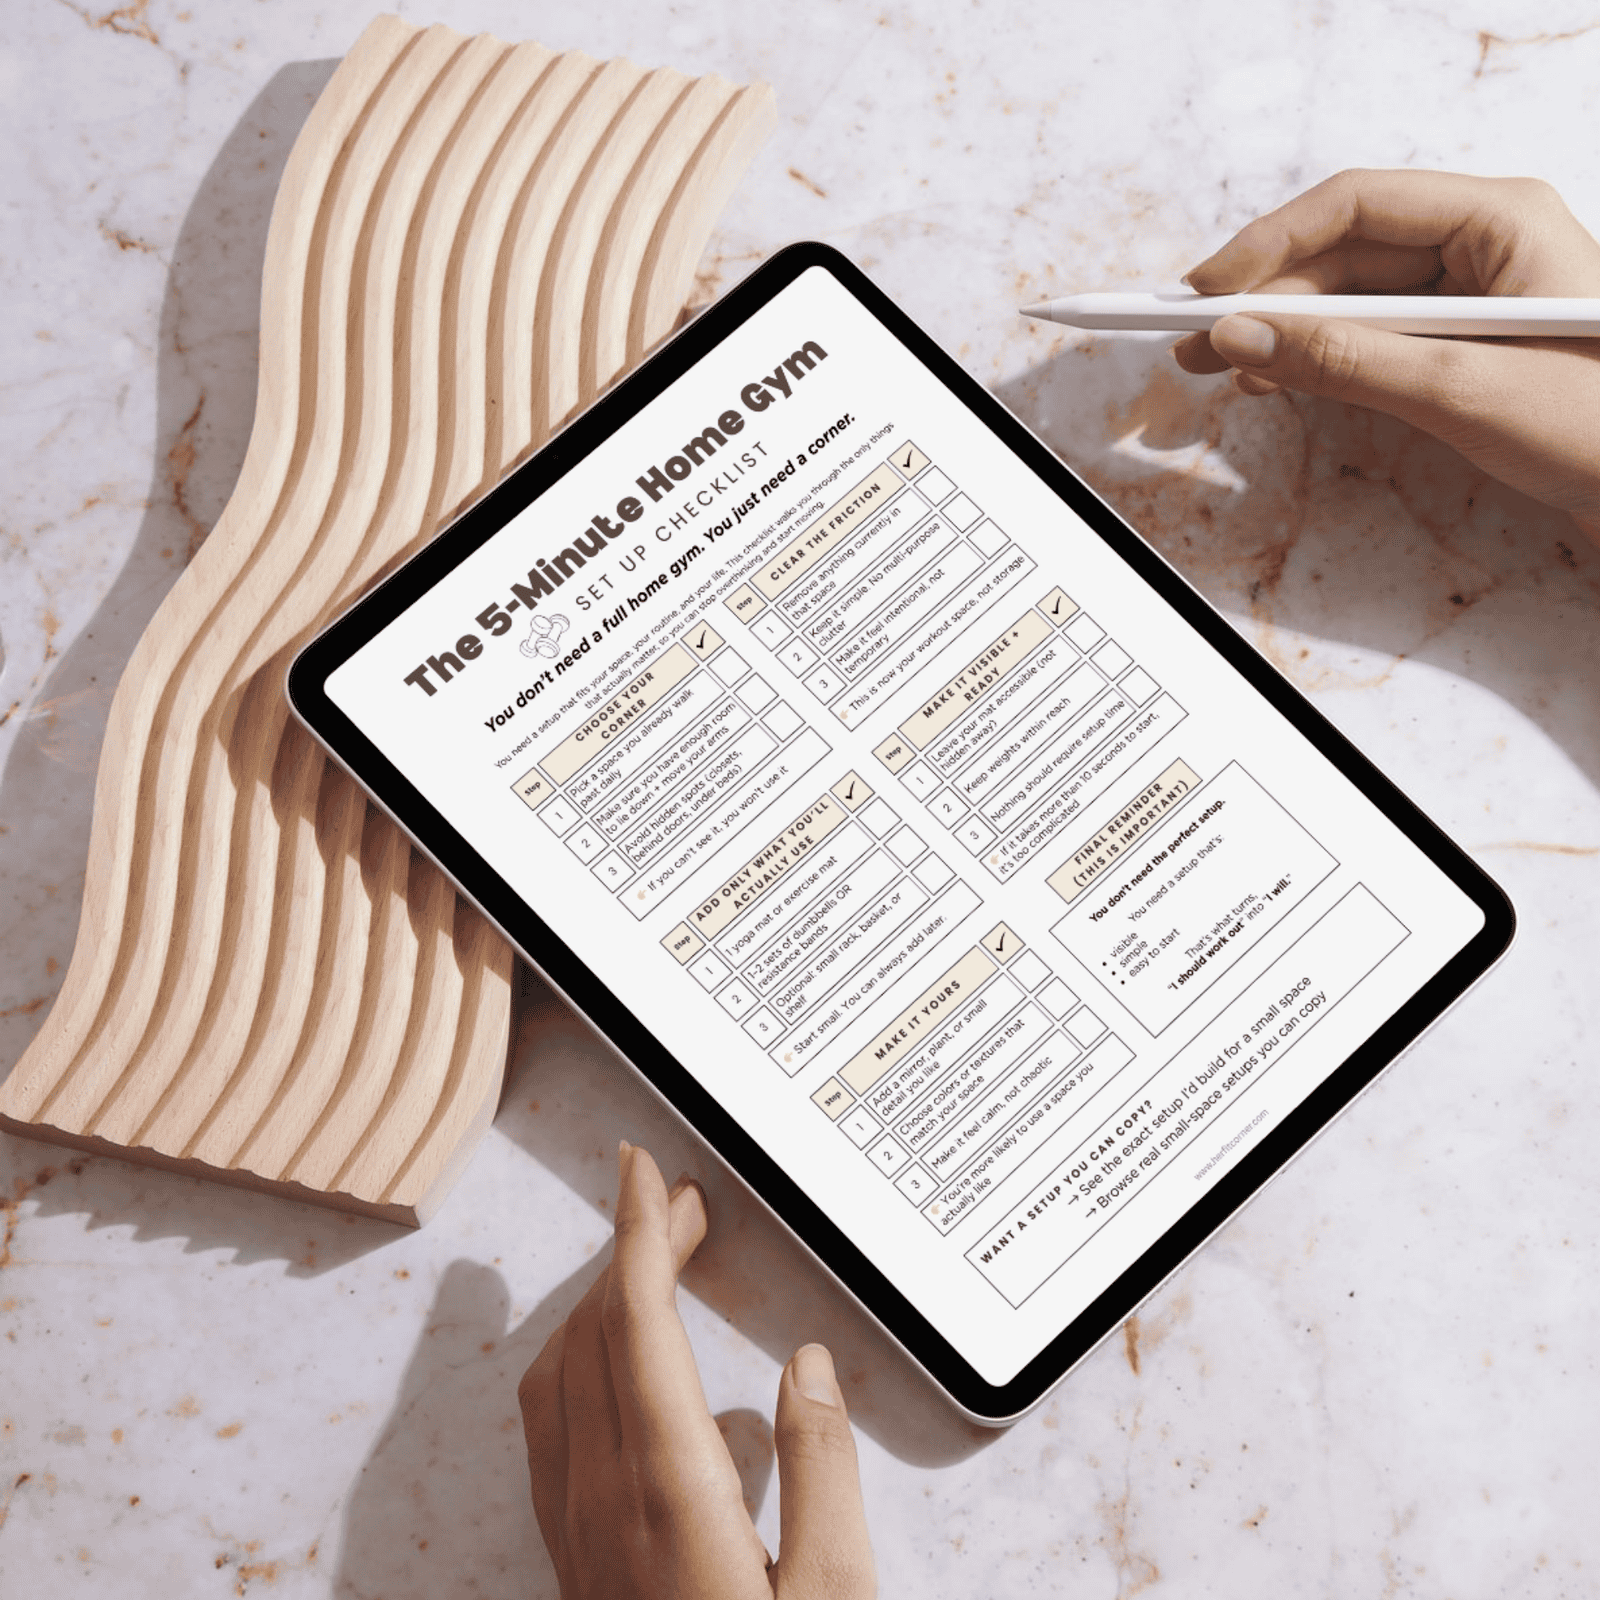
Free 5-Minute Home Gym Setup Checklist
You don’t need a full home gym. You just need a corner.
No spam. Unsubscribe anytime.
Get cold. Feel alive.